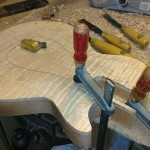
“Aqua P” Build – Part IV
The pickup plain is at 1.3 degrees and runs from the end of the neck to the bridge line. Not a very steep angle but important to get the pickups at the optimum position under the strings… Now that the…
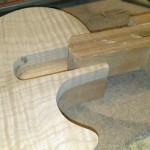
“Aqua P” Build – Part III
Next step is to cut the mortice and the tenon on the neck pocket and neck. This is cut horizontal to the top for now and shallow as the neck pitch and final fitting will be done later. For now…
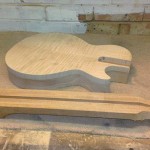
“Aqua P” Build – Part II
Now that the body cap is jointed the mahogany body is routed to shape and the pickup control routs and channels for the controls are cut using the templates before the cap is cut to size and glued to the…
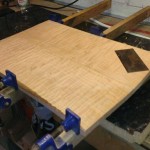
“Aqua P” Build – Part I
The timber and the jigs for the instrument are all to hand.. In this case a single piece of Mahogany for the body, a single roughed out mahogany blank for the neck and a book matched piece of quilted maple…
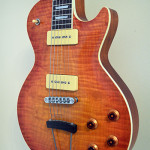
“Aqua P” Build – Introduction.
The following blog will walk through the process of building the “Aqua P” Guitar. The “Aqua P” is loosely based on the design of a traditional Les Paul guitar with some important modifications. The design includes a one piece mahogany…


