
Quick Uke Build – Part IV
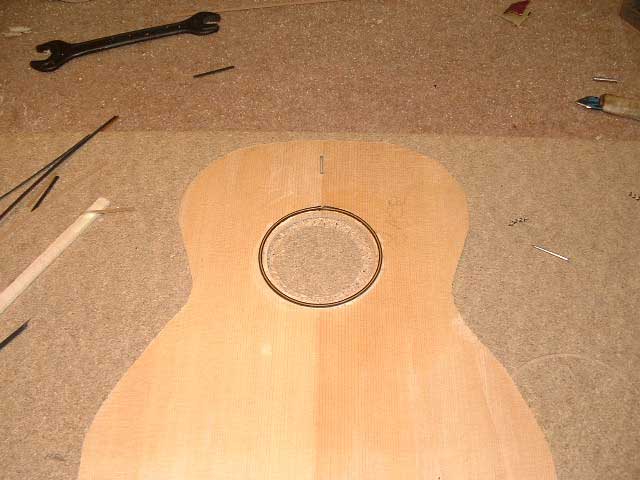
The top is jointed in the same fashion as the back and before any bracing is done the sound hole needs to cut and any rosette installed. In keeping with the simple theme of the Uke a basic three piece purfling is used for the sound hole purfling. This will give the necessary support to the sound hole and stop any splitting or cracking down the line.
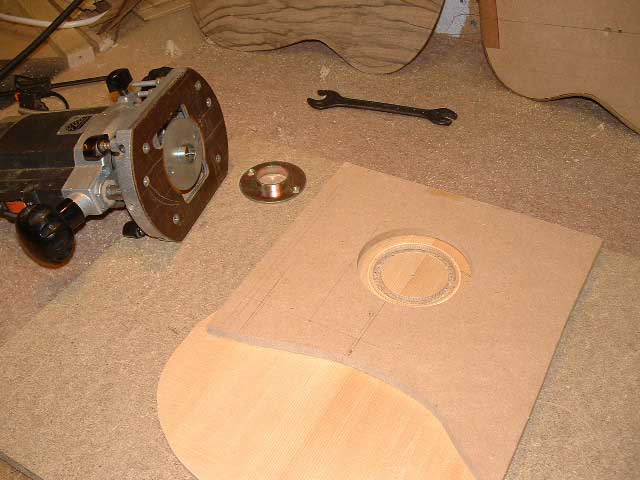
The sound hole purfling channel is cut with a router and a circle jig. A change of jig allows the sound hole to be cut.
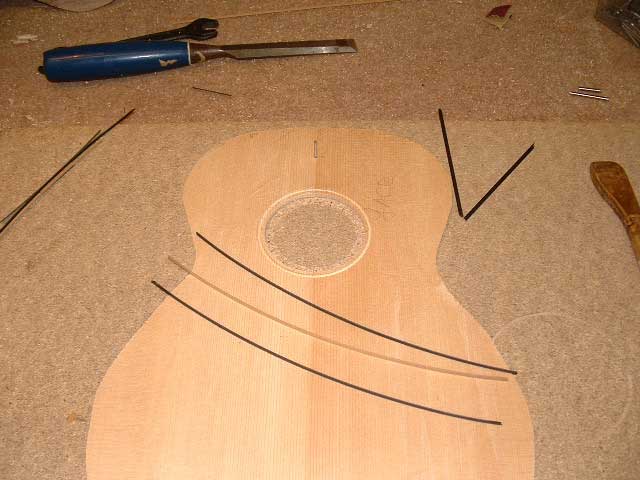
The strips of ebony and boxwood are cut to length and glued into the channel.
The location of the top braces can then be marked and braces cut and glued in place. At the same time reinforcement is glued under the sound hole and a mahogany bridge plate is attached.
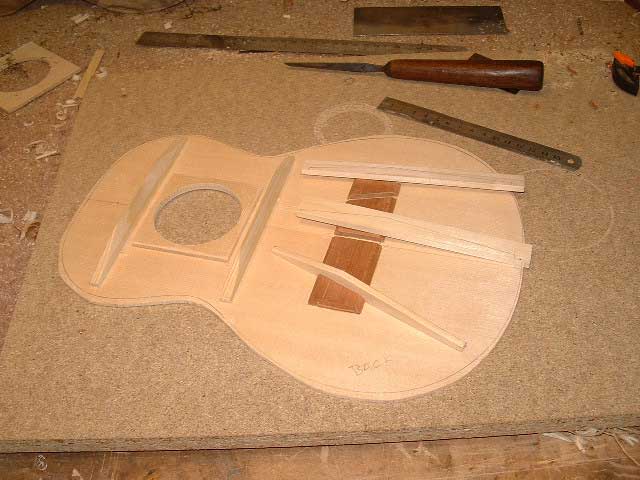
I like to leave the braces on a uke short of the ribs this seems to help free up the top to vibrate more evenly that having the braces run right to the linings.
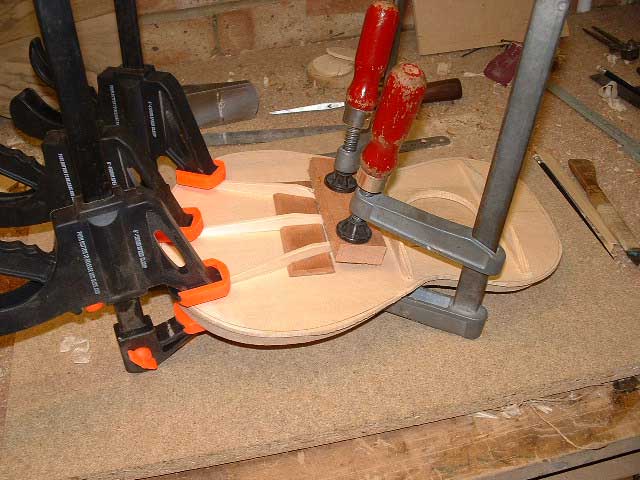
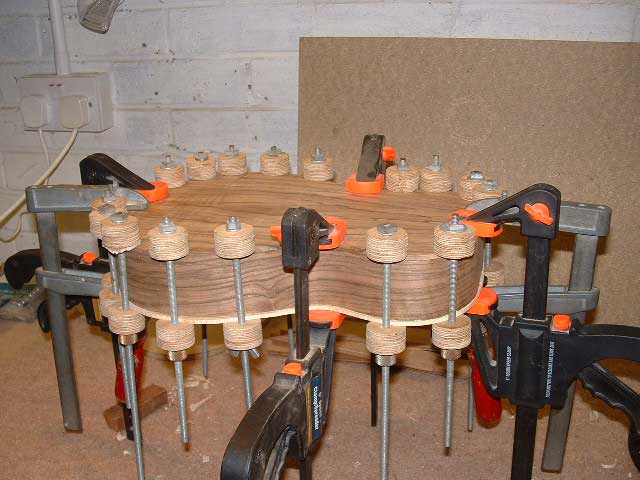
The braces are glued in place and once everything is dry and cleaned up the top can be glued to the body.
The next task is the body binding.


