“Aqua P” Build – Part X
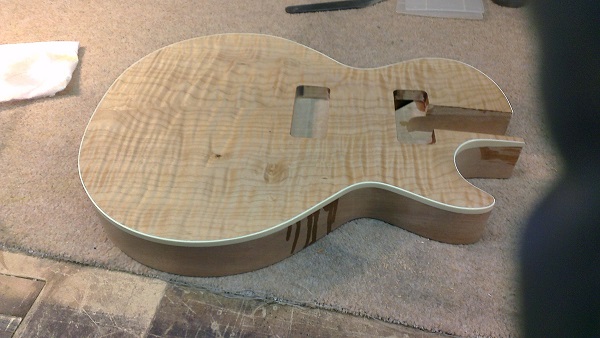
Having got the dyes mixed to the colour and dilution that I’m after the first step is to prep the top by sanding through grits to 1000 and then use a strong yellow dye to “pop” the grain and sand back again to 1000 grit. The effect is to darken the figure where the end grain is exposed so when the final polishing is done the figure will be highlighted.
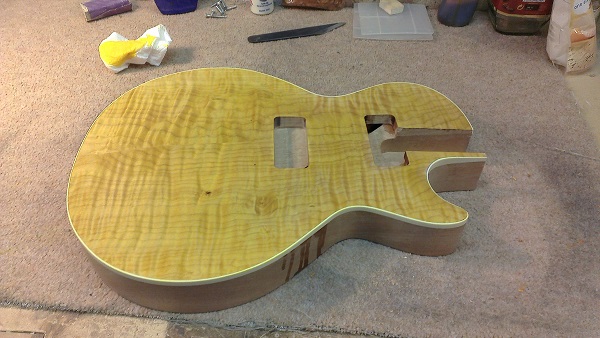
Next a wash of the yellow ground is applied in subsequent coats until the desired base colour is achieved. This will often be darker and heavier than the anticipated finish as much will be rubbed out at a later stage and blended in to the following colours. The aim here is to get a colour that when washed out will form the centre part of the burst.
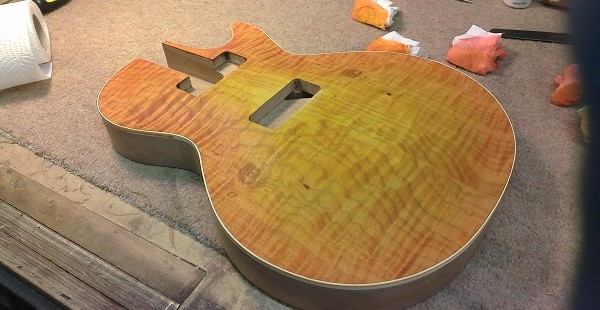
Rubbing the next colours can now begin keeping the colour stronger and darker towards the edge. When blending the colour care is taken not to pull colour from light to dark. The rubbing cloths are changed frequently and colours are blended with clean spirit when the desired shades are in place.
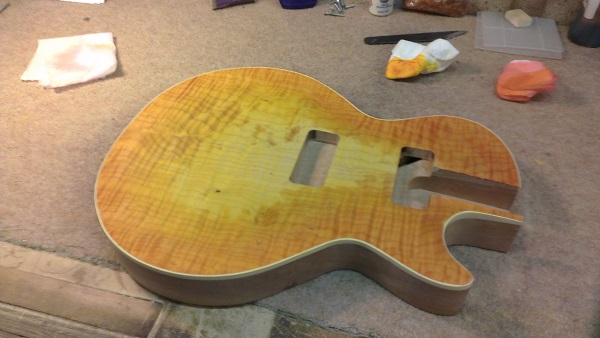
The Honey brown colour to the edge of the burst goes on last and is only applied to the very edge of the top. Clean rags are used to pull the colours together.
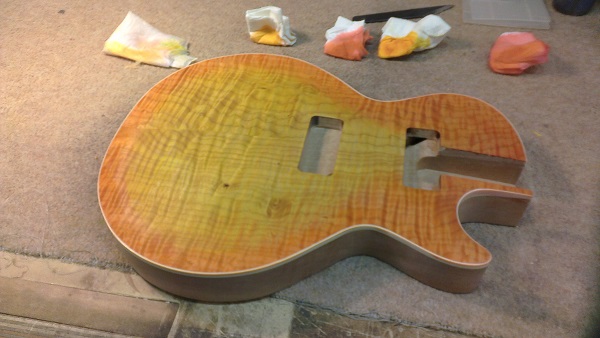
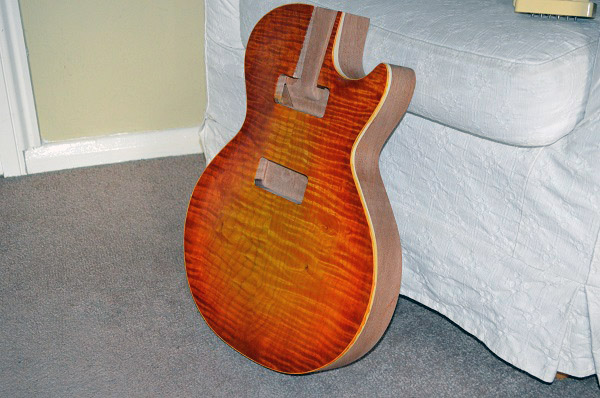
The final burst should have a gradual bleed from one colour to the next and bring out the figure in the timber.
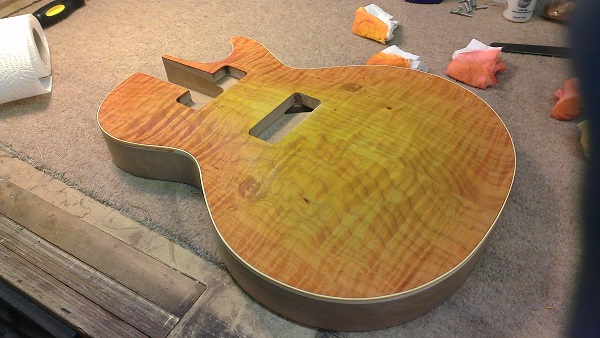
Once dry a light coat of shellac or french polish is sprayed on top with an air gun to seal in the colour and prevent any further rubbing of the finish.
The shellac should also brighten the colours and show up the real burst as it will be under lacquer or french polishing.
The true colours pictured under natural light….